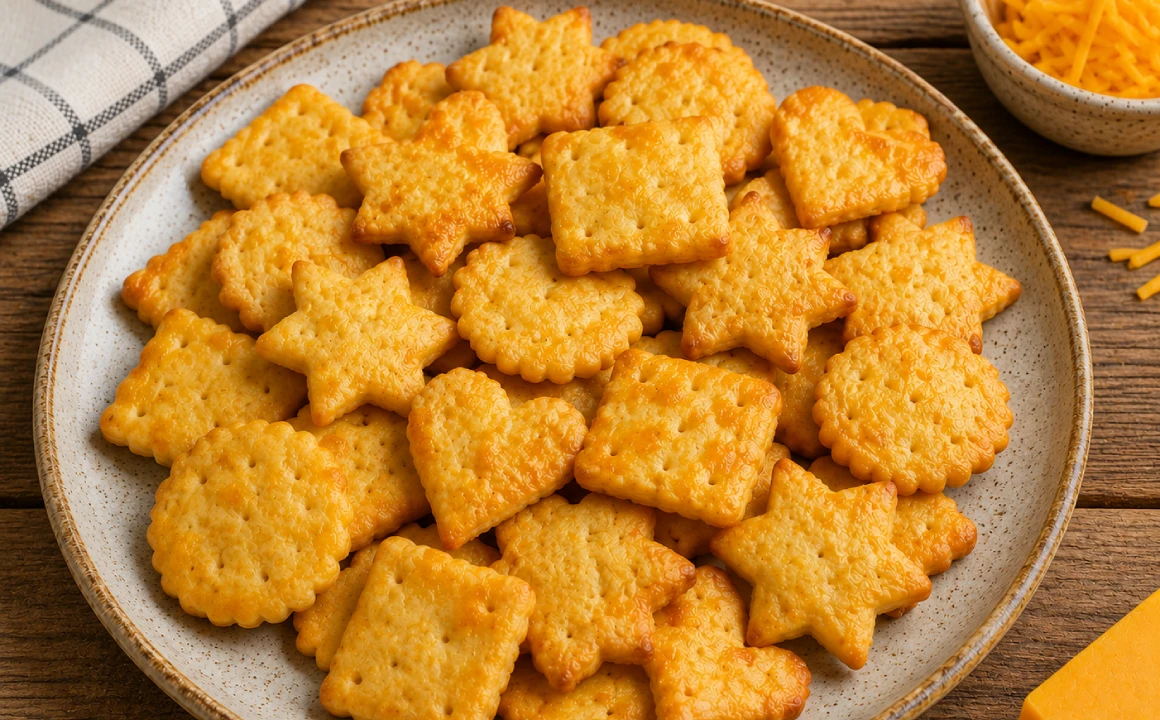

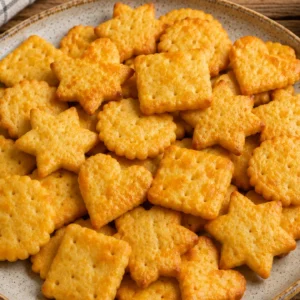
Crunchy, golden, and full of real cheddar flavor, these homemade cheese crackers are a simple snack you can bake with just a few everyday ingredients. They’re perfect for toddlers, lunchboxes, picnics, and after-school grazing, and they skip the additives you often find in packaged versions.
If you need a reliable kid-friendly snack that’s fun to cut into shapes and easy to batch bake, this recipe fits right in. In addition, the texture is crisp, the flavor is mild but cheesy, and, best of all, little hands can easily pick them up.
Why You’ll Love These Homemade Cheese Crackers
- Made with just 6 simple ingredients
- Toddler-friendly finger food
- Crispy, buttery, and full of real cheddar flavor
- Great for lunchboxes and picnics
- Freezer-friendly
- No preservatives or artificial ingredients
- Easy to customize with different cheeses and herbs
Ingredients
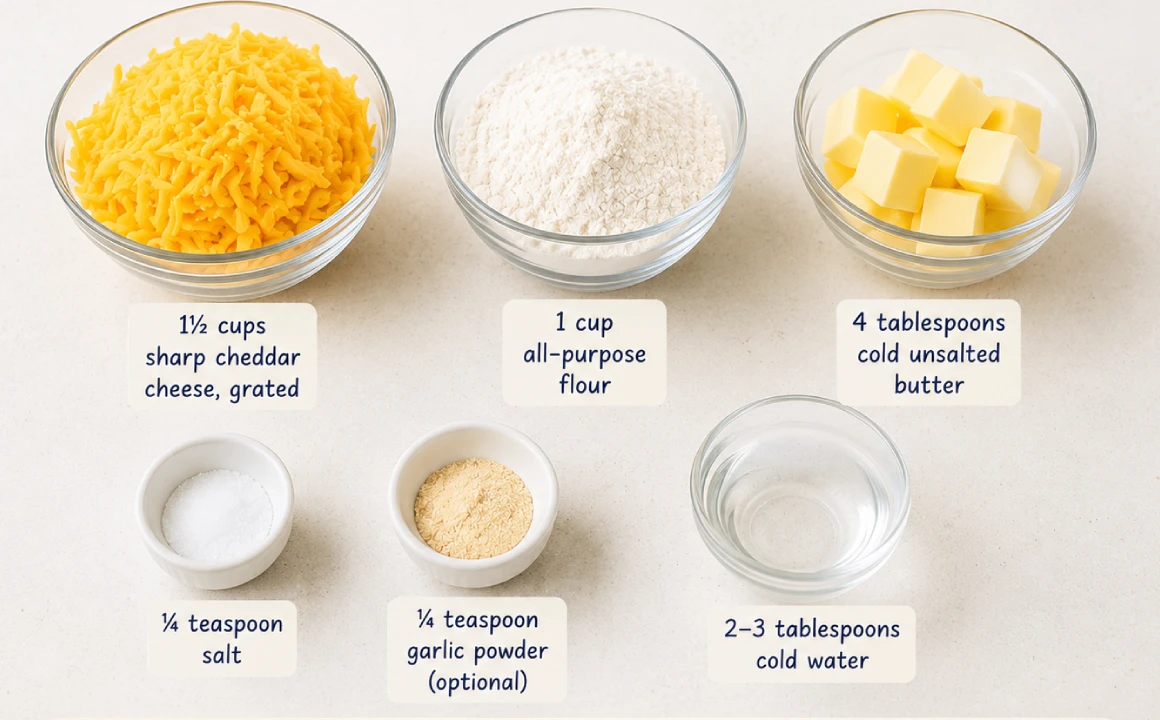
- 1½ cups (170g) sharp cheddar cheese, freshly grated
- 1 cup (125g) all-purpose flour
- ¼ teaspoon fine salt
- ¼ teaspoon garlic powder (optional)
- 4 tablespoons (56g) cold unsalted butter, cubed
- 2–3 tablespoons cold water
Optional Flavor Additions
- ½ teaspoon dried oregano
- ¼ teaspoon paprika
- 1 tablespoon grated Parmesan
- Pinch of black pepper (for older children)
Equipment You’ll Need
- Mixing bowl or food processor
- Rolling pin
- Baking tray
- Parchment paper
- Small cookie cutters
- Cooling rack
How to Make Homemade Cheese Crackers
1. Warm up the oven
Set your oven to 175°C (350°F) and line a tray with baking paper.
2. Build the dough
Combine flour, cheese, salt, butter, and garlic powder in a bowl.
Rub the mixture between your fingers or pulse in a food processor until it looks like fine crumbs.
Slowly add cold water, one spoon at a time, until it forms a soft dough. Try not to overmix.
3. Let it rest
Wrap the dough and place it in the fridge for around 15–20 minutes.
This helps it firm up so rolling becomes easier and cleaner.
4. Roll it out
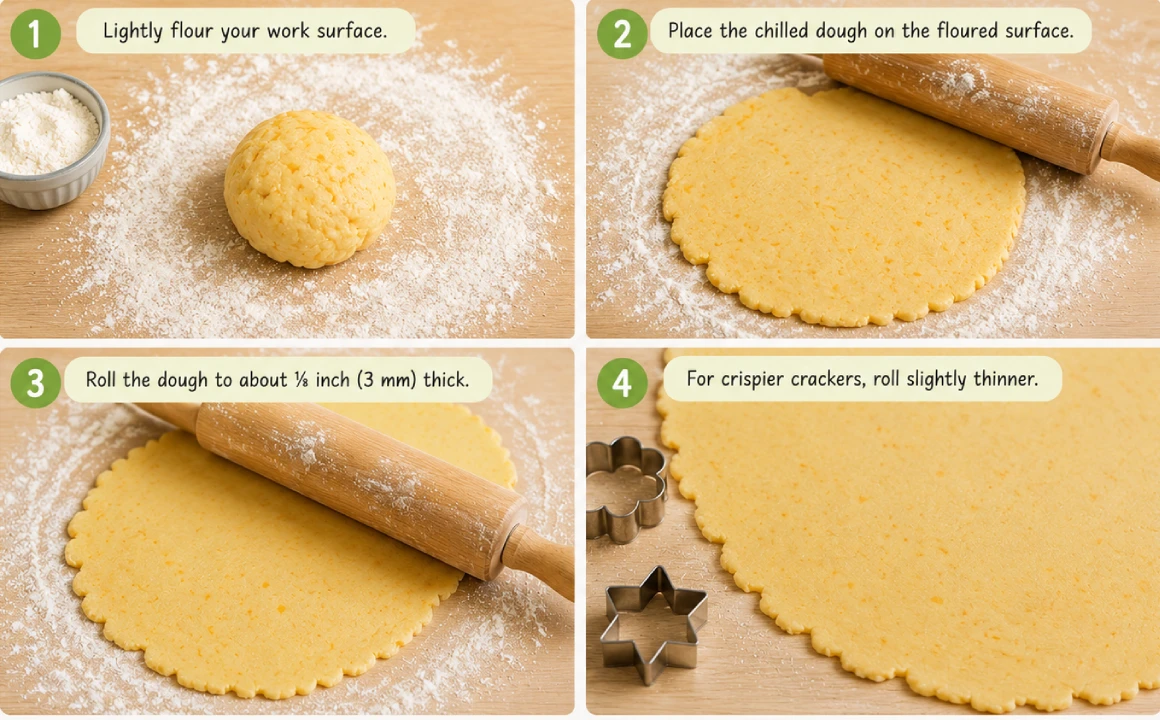
Lightly dust your surface with flour.
Roll the dough evenly until it’s about 3 mm (⅛ inch) thick.
If you want extra crunch, go slightly thinner.
5. Shape your crackers
Use cookie cutters to make fun shapes like:
- Stars
- Hearts
- Circles
- Squares
- Animals
For classic-style crackers, prick small holes with a fork.
6. Bake until golden
Place shapes on the tray and bake for 12–15 minutes.
You’re looking for lightly browned edges and a firm texture.
7. Cool completely
Move them to a rack and let them cool fully — they crisp up as they rest.
Making It Toddler-Friendly
These crackers work well for small children who already manage finger foods.
To adjust for younger eaters:
- Choose mild cheddar for a softer taste
- Cut into smaller, easy-to-hold pieces
- Roll slightly thinner for a lighter bite
- Skip extra salt or strong spices
- Finally, always supervise during snacking
What to Serve with Homemade Cheese Crackers
These crackers pair beautifully with homemade dips and spreads.
Try serving them with:
- Lentil Hummus
- Chickpea Hummus
- Spinach Dip
- Cream cheese
- Guacamole
- Cottage cheese
- Greek yogurt dip
They’re also delicious alongside:
- Apple slices
- Pear slices
- Strawberries
- Cucumber sticks
- Bell peppers
- Cherry tomatoes (quartered for young children)
Perfect for Lunchboxes
These crackers travel extremely well.
Add them to lunchboxes with:
- cheese cubes
- grapes (cut appropriately for young children)
- boiled eggs
- cucumber slices
- fruit
- yogurt
- mini sandwiches
Storage
Store in an airtight container for up to 5 days.
If they soften slightly, bake them again for 3–5 minutes at 300°F (150°C).
Freezing Options
Raw dough
If you’d like to make ahead, wrap the dough well and freeze it for up to 3 months.
Baked crackers
Alternatively, you can freeze the baked crackers in a sealed container for up to 2 months.
Helpful Tips
- Let them cool fully before storing
- Freshly grated cheese melts more smoothly than pre-shredded
- Cold butter helps create a crisp texture
- Even rolling ensures consistent baking
- Don’t overbake — they continue crisping after cooling
Frequently Asked Questions
Are these suitable for toddlers?
Yes, as long as your child already eats crunchy foods. Adjust size and seasoning where needed.
Why aren’t mine crunchy?
Usually they’re too thick or stored before fully cooling.
What cheeses can I use?
Try Gouda, mild cheddar, Colby, or Parmesan blends.
Can I make them gluten-free?
Yes, a 1:1 gluten-free flour blend works well.
How long do they last?
Around 5 days in a sealed container at room temperature.
Related Recipes You Might Like
If you enjoyed this snack, you might also like:
- Creamy Lentil Hummus – A protein-packed dip that’s smooth, nutritious, and perfect with crackers or veggie sticks.
- Easy Chickpea Hummus – A classic homemade hummus that’s quick to make and loved by kids and adults alike.
- Creamy Spinach Dip – A delicious veggie-packed dip that’s perfect for picnics, lunchboxes, or snack time.
These recipes pair wonderfully with homemade cheese crackers and make building a healthy snack board easy.
Homemade Cheese Crackers (Easy Toddler Snack Recipe)
Equipment
- Mixing bowl or food processor
- Rolling Pin
- Baking tray
- Parchment paper
- Small cookie cutters
- Cooling rack
Ingredients
- 1 ½ cups sharp cheddar cheese, freshly grated
- 1 cup all-purpose flour
- ¼ tsp garlic powder optional
- 4 tbsp cold unsalted butter, cubed
- 2-3 tbsp cold water
- ½ tsp dried oregano optional
- ¼ tsp paprika optional
- 1 tbsp grated Parmesan optional
- Pinch of black pepper (for older children) optional
Instructions
- Warm up the ovenSet your oven to 175°C (350°F) and line a tray with baking paper.
- Build the doughCombine flour, cheese, salt, butter, and garlic powder in a bowl.Rub the mixture between your fingers or pulse in a food processor until it looks like fine crumbs.Slowly add cold water, one spoon at a time, until it forms a soft dough. Try not to overmix.
- Let it restWrap the dough and place it in the fridge for around 15–20 minutes.This helps it firm up so rolling becomes easier and cleaner.
- Roll it outLightly dust your surface with flour.Roll the dough evenly until it’s about 3 mm (⅛ inch) thick.If you want extra crunch, go slightly thinner.
- Shape your crackersUse cookie cutters to make fun shapes like: Stars, Hearts, Circles, Squares, AnimalsFor classic-style crackers, prick small holes with a fork.
- Bake until goldenPlace shapes on the tray and bake for 12–15 minutes.You’re looking for lightly browned edges and a firm texture.
- Cool completelyMove them to a rack and let them cool fully — they crisp up as they rest.
Notes